IO
Everyone who has a custom PC wants it to be.. well, custom. I chose to design this PC case because I was inspired by space-age tech, submarines, and underwater motifs.
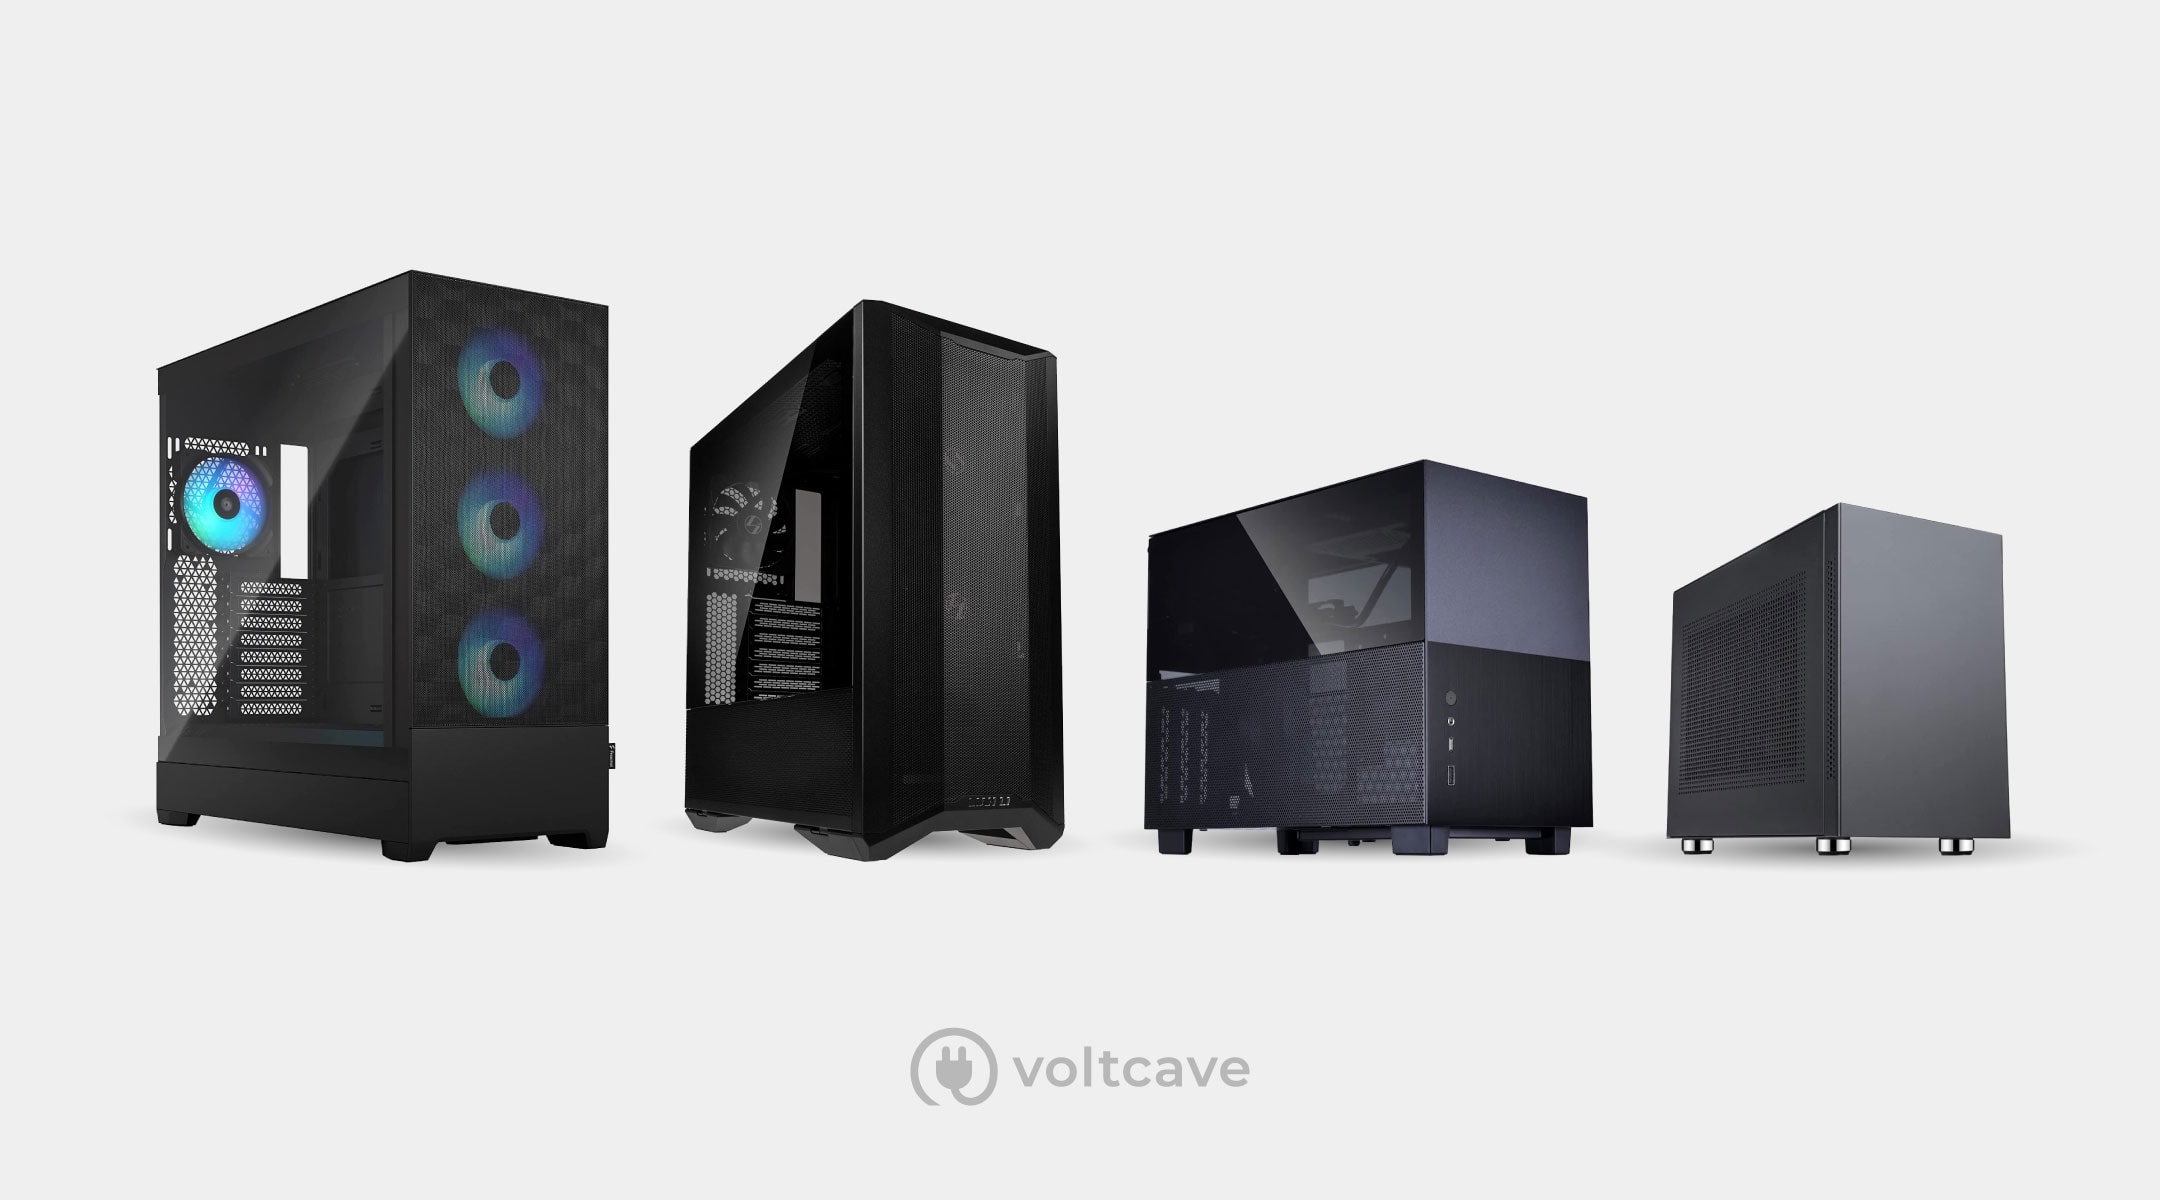
There's a huge gap in the PC case market. If you want something that isn't a modern tech-style black case, you're stuck with minimal options--or you're better off building one yourself. In the past couple of years, the variety of options has improved, albeit a small amount.
PC cases are an interesting medium. Really, they just have to fit the components inside, and they can take on any form or shape. There are many unexplored opportunities in this area of design, that can be discovered one idea at a time.
Check out the video of my process:
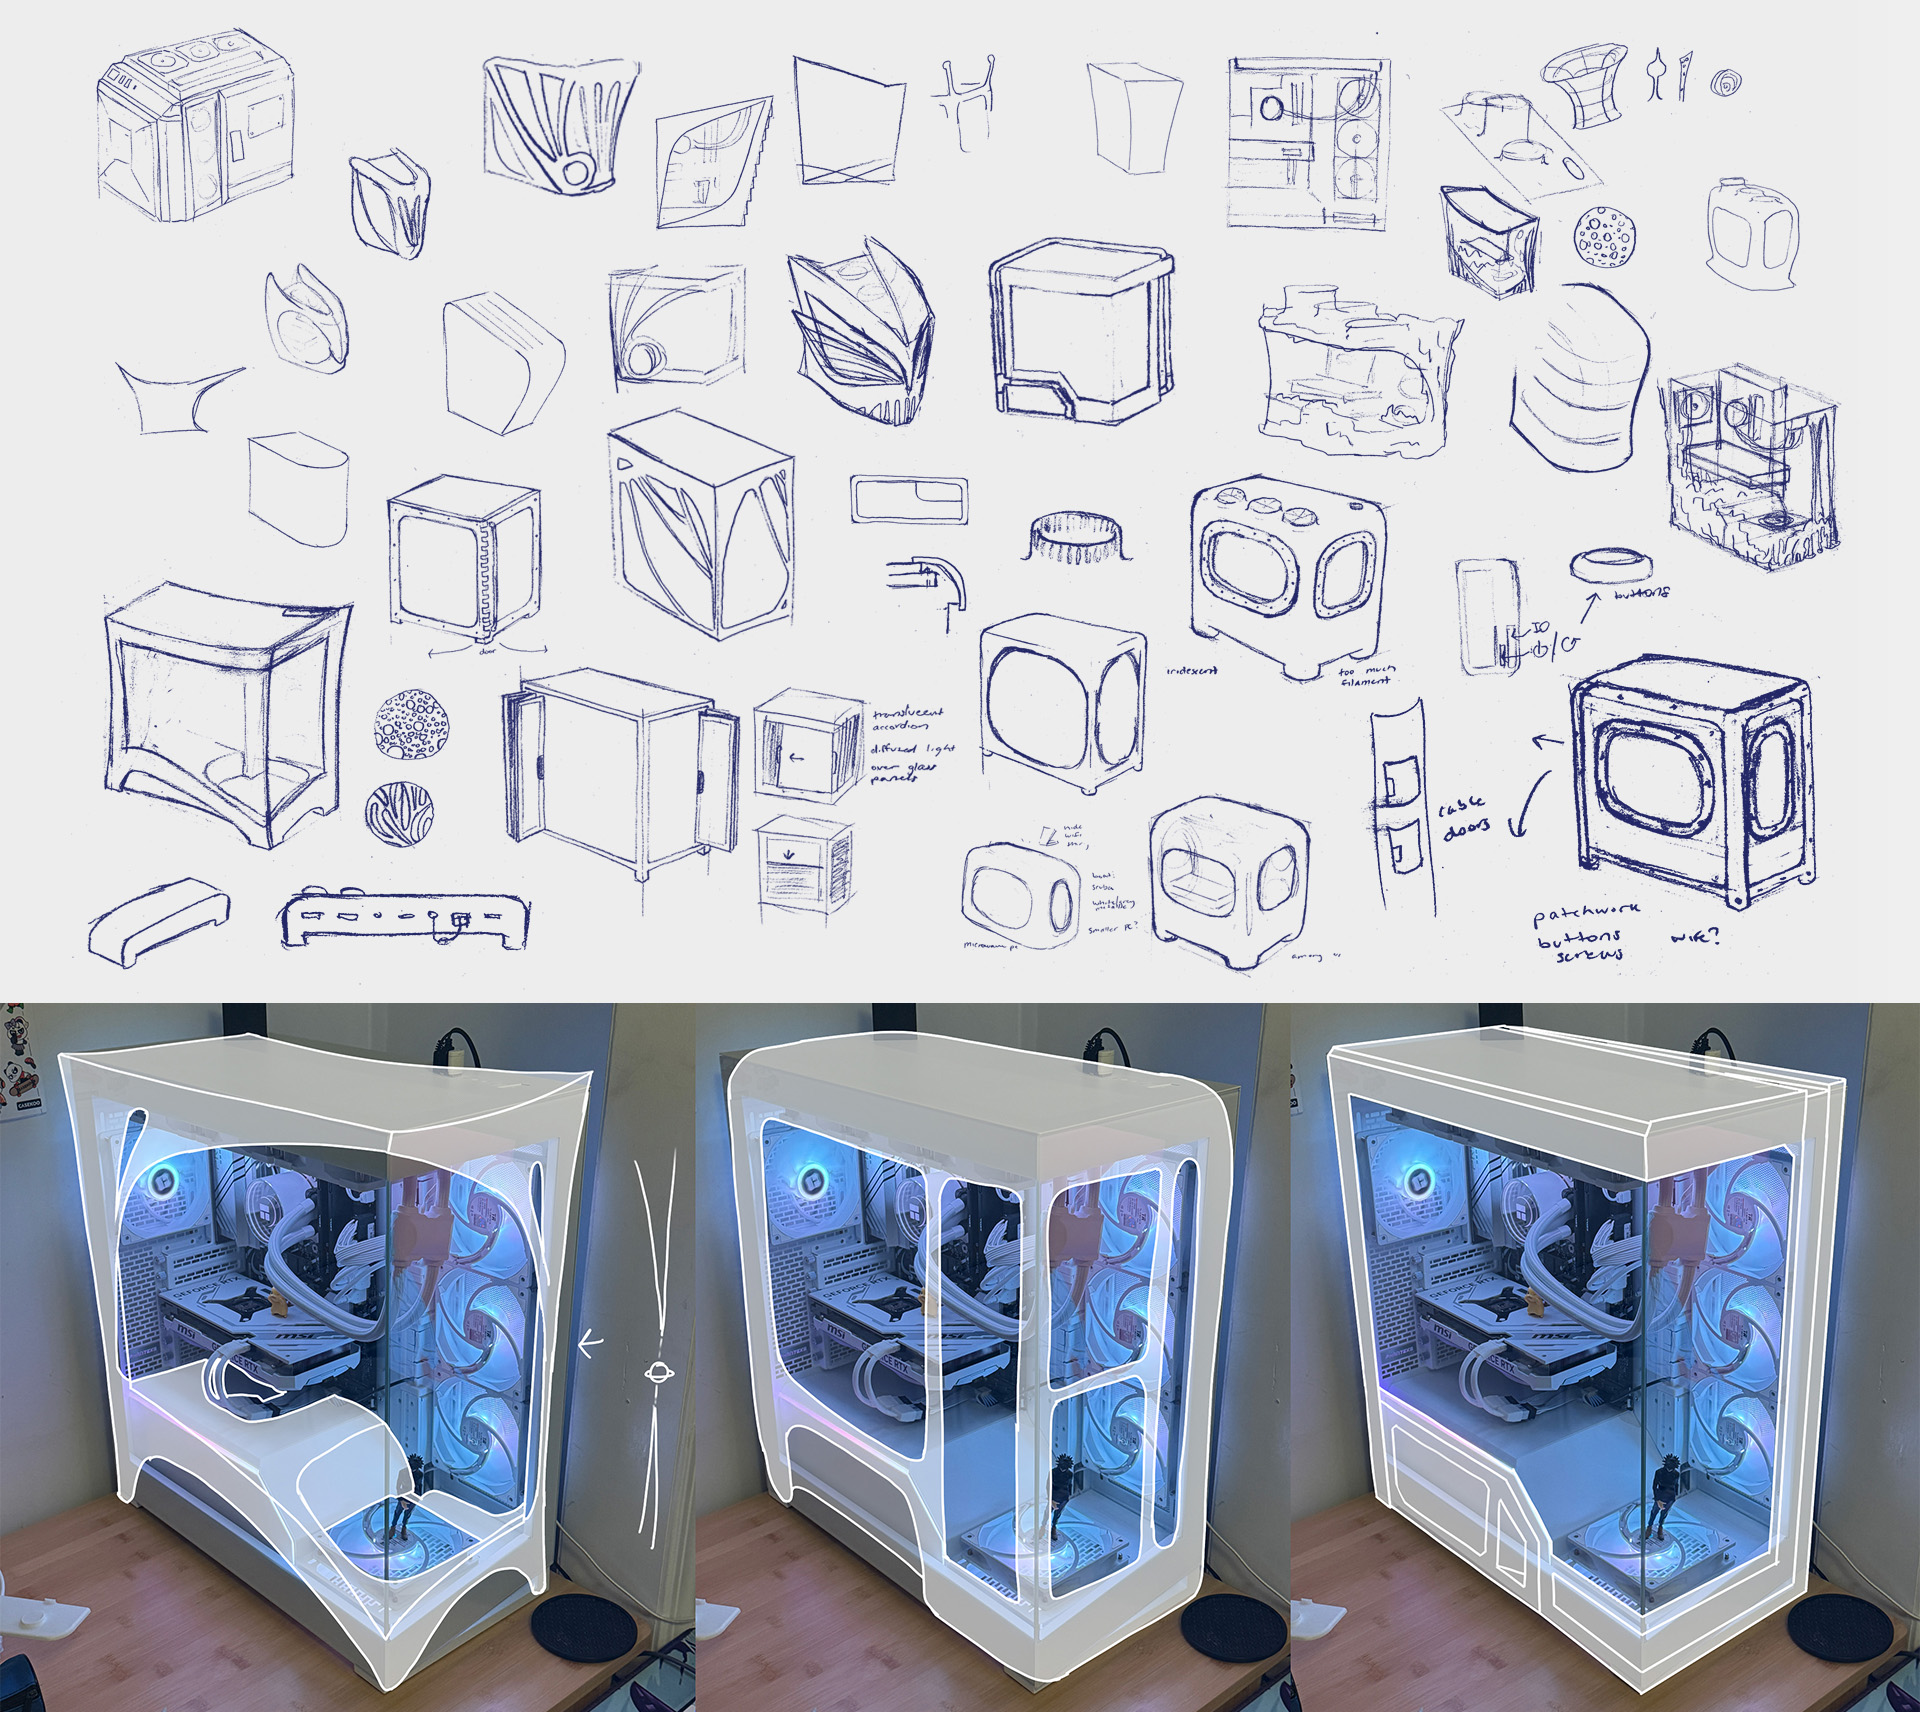
I explored a lot of ideas through sketching. Since I was on a budget and had only 6 weeks, I needed to quickly flesh out the design so I could start prototyping.
I already had a definition of what I was working with--my own PC parts--which meant I was designing a full tower PC case. This, and the fact that I had built PCs before, made it easier to jump straight into ideation.
I measured all of my PC parts and every single screw hole on my case, and replicated the base dimensions in Solidworks.
From there, I modeled the overall look of the PC, and then I went over the design again to optimize for lasercutting and 3D printing--which meant dividing it into 54 total parts, each of which with connection points for easy assembly.
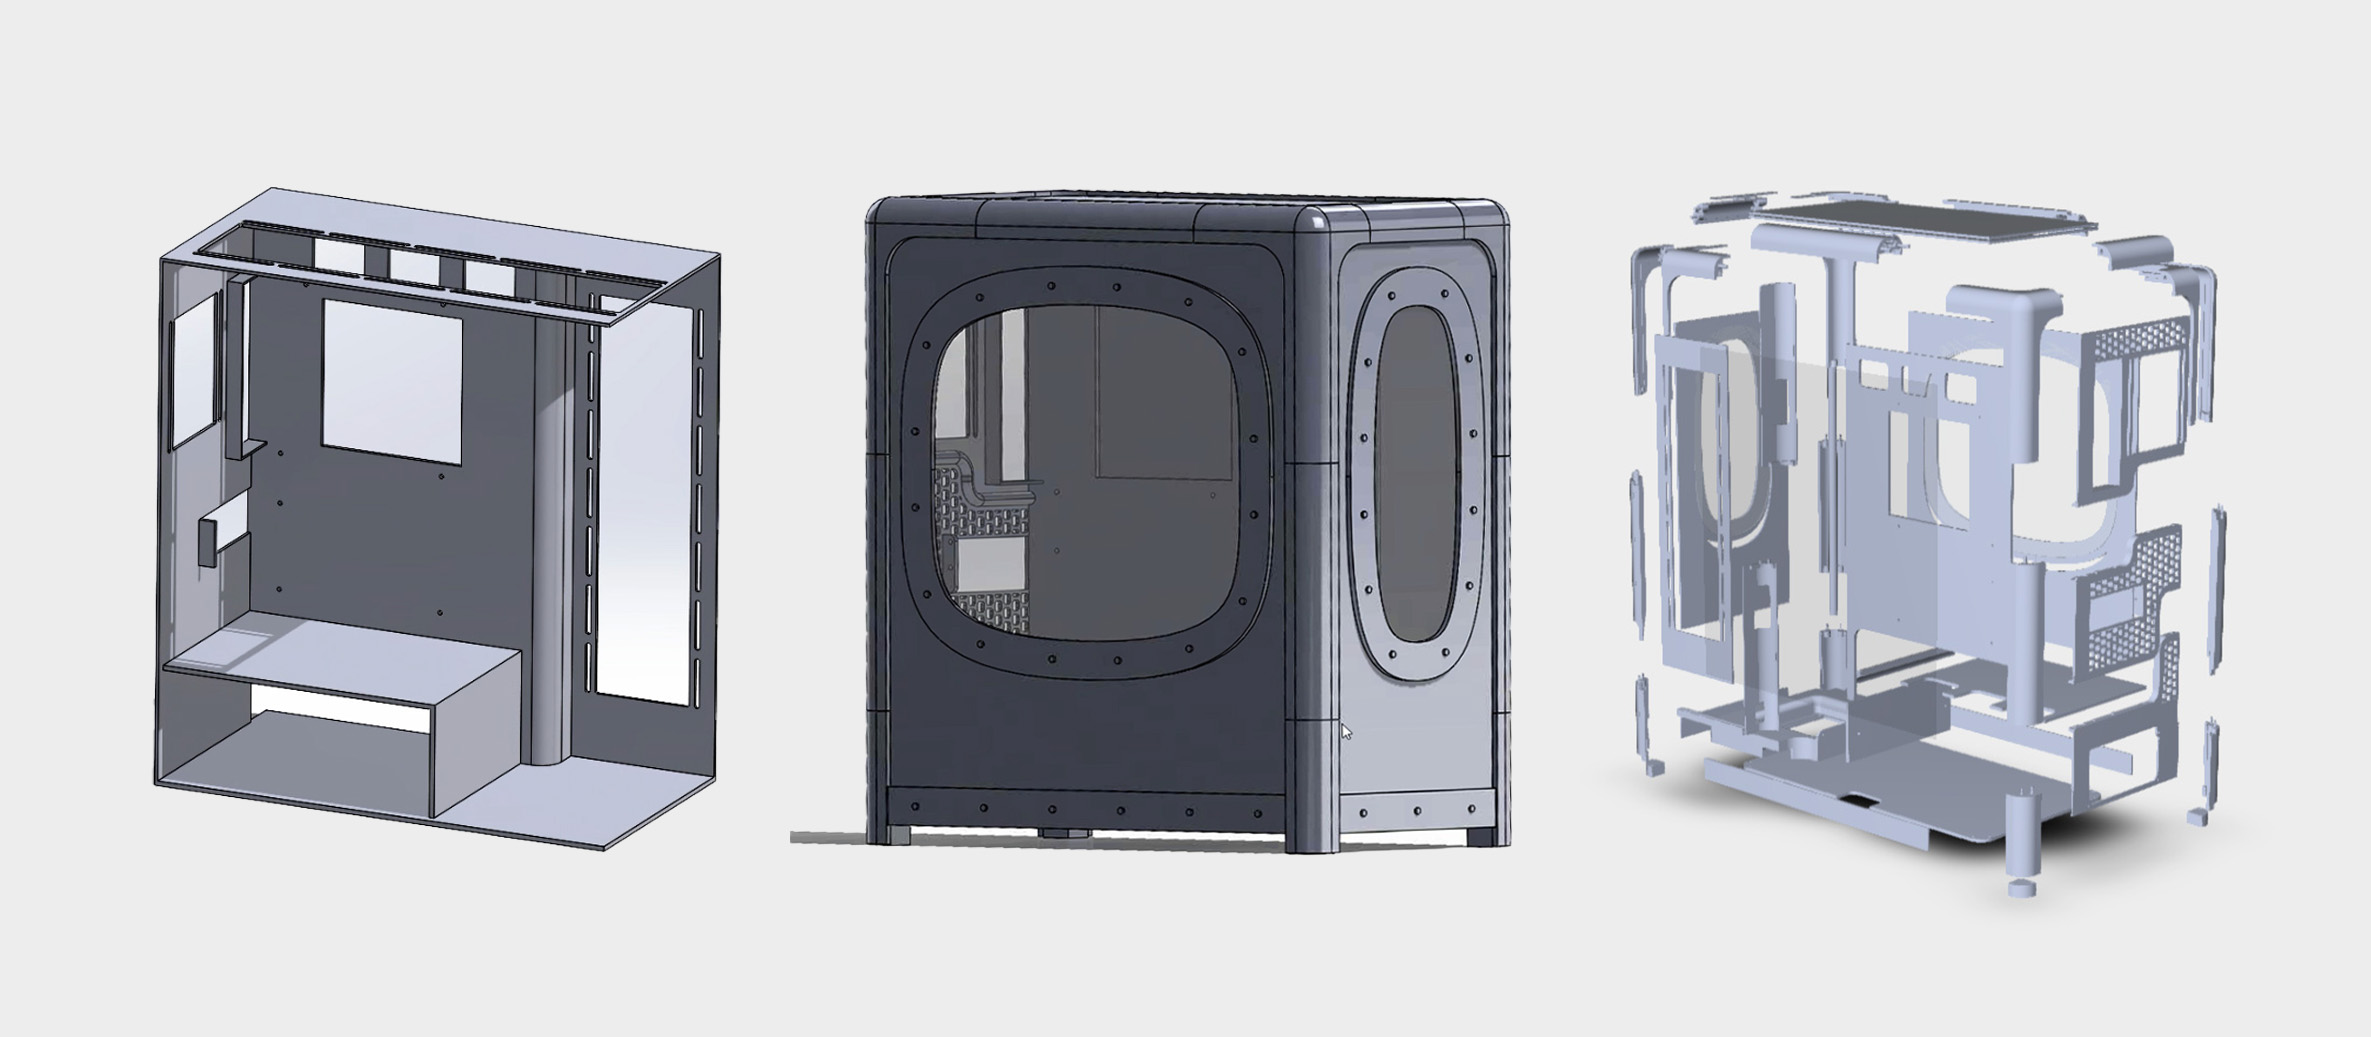
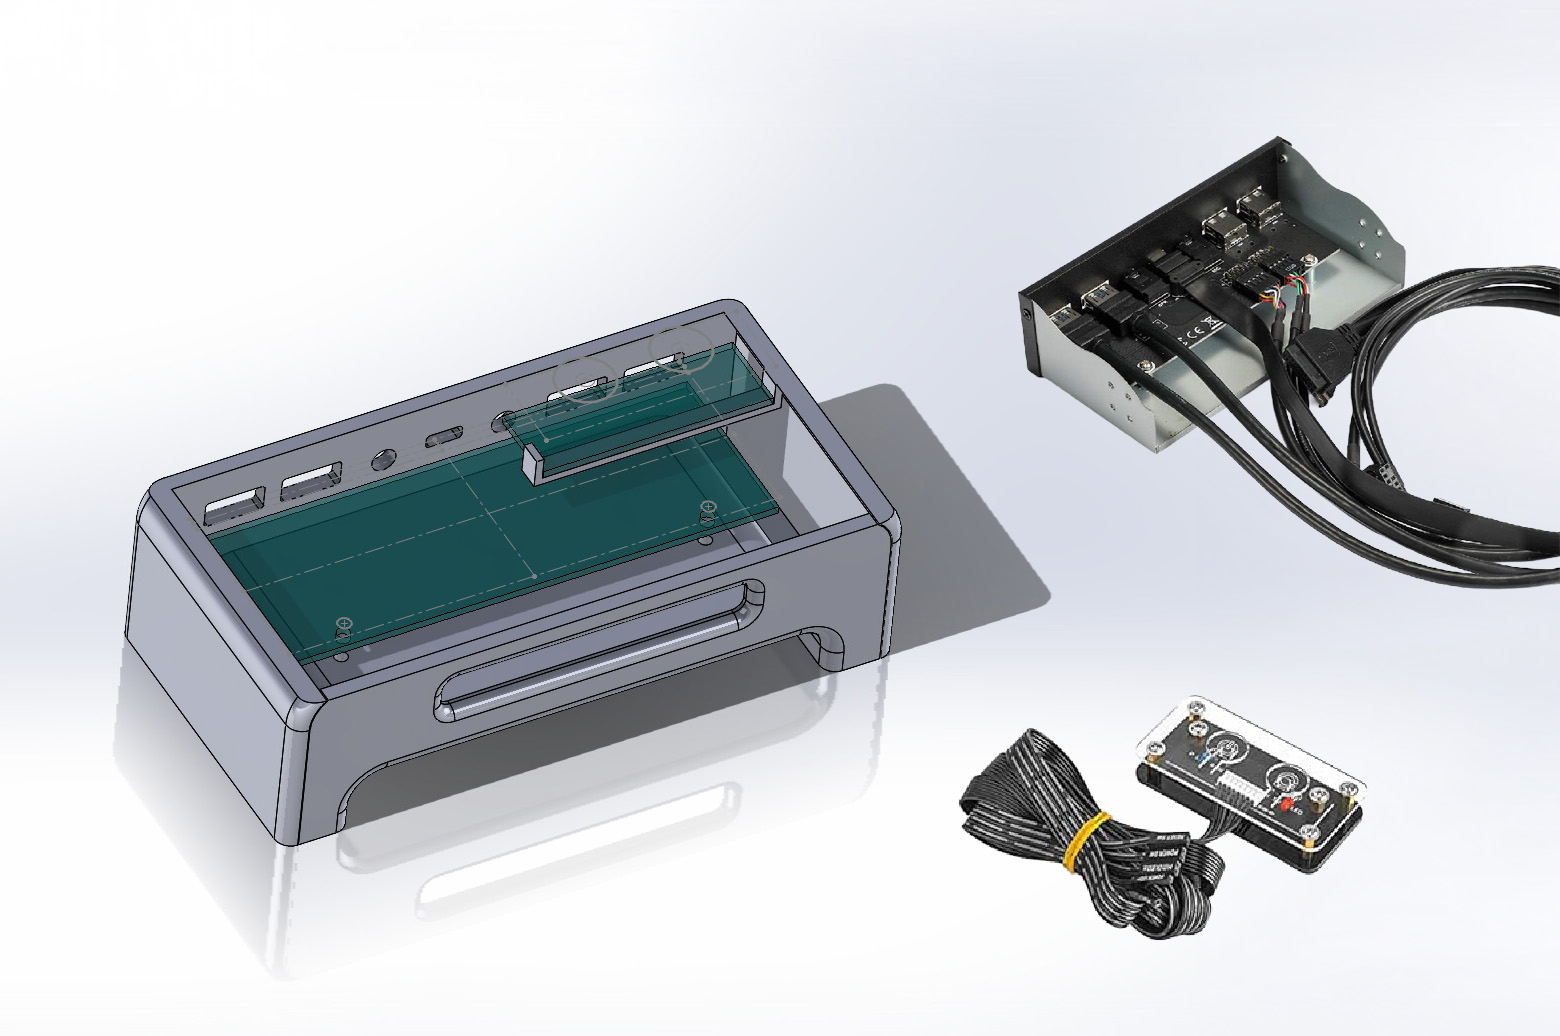
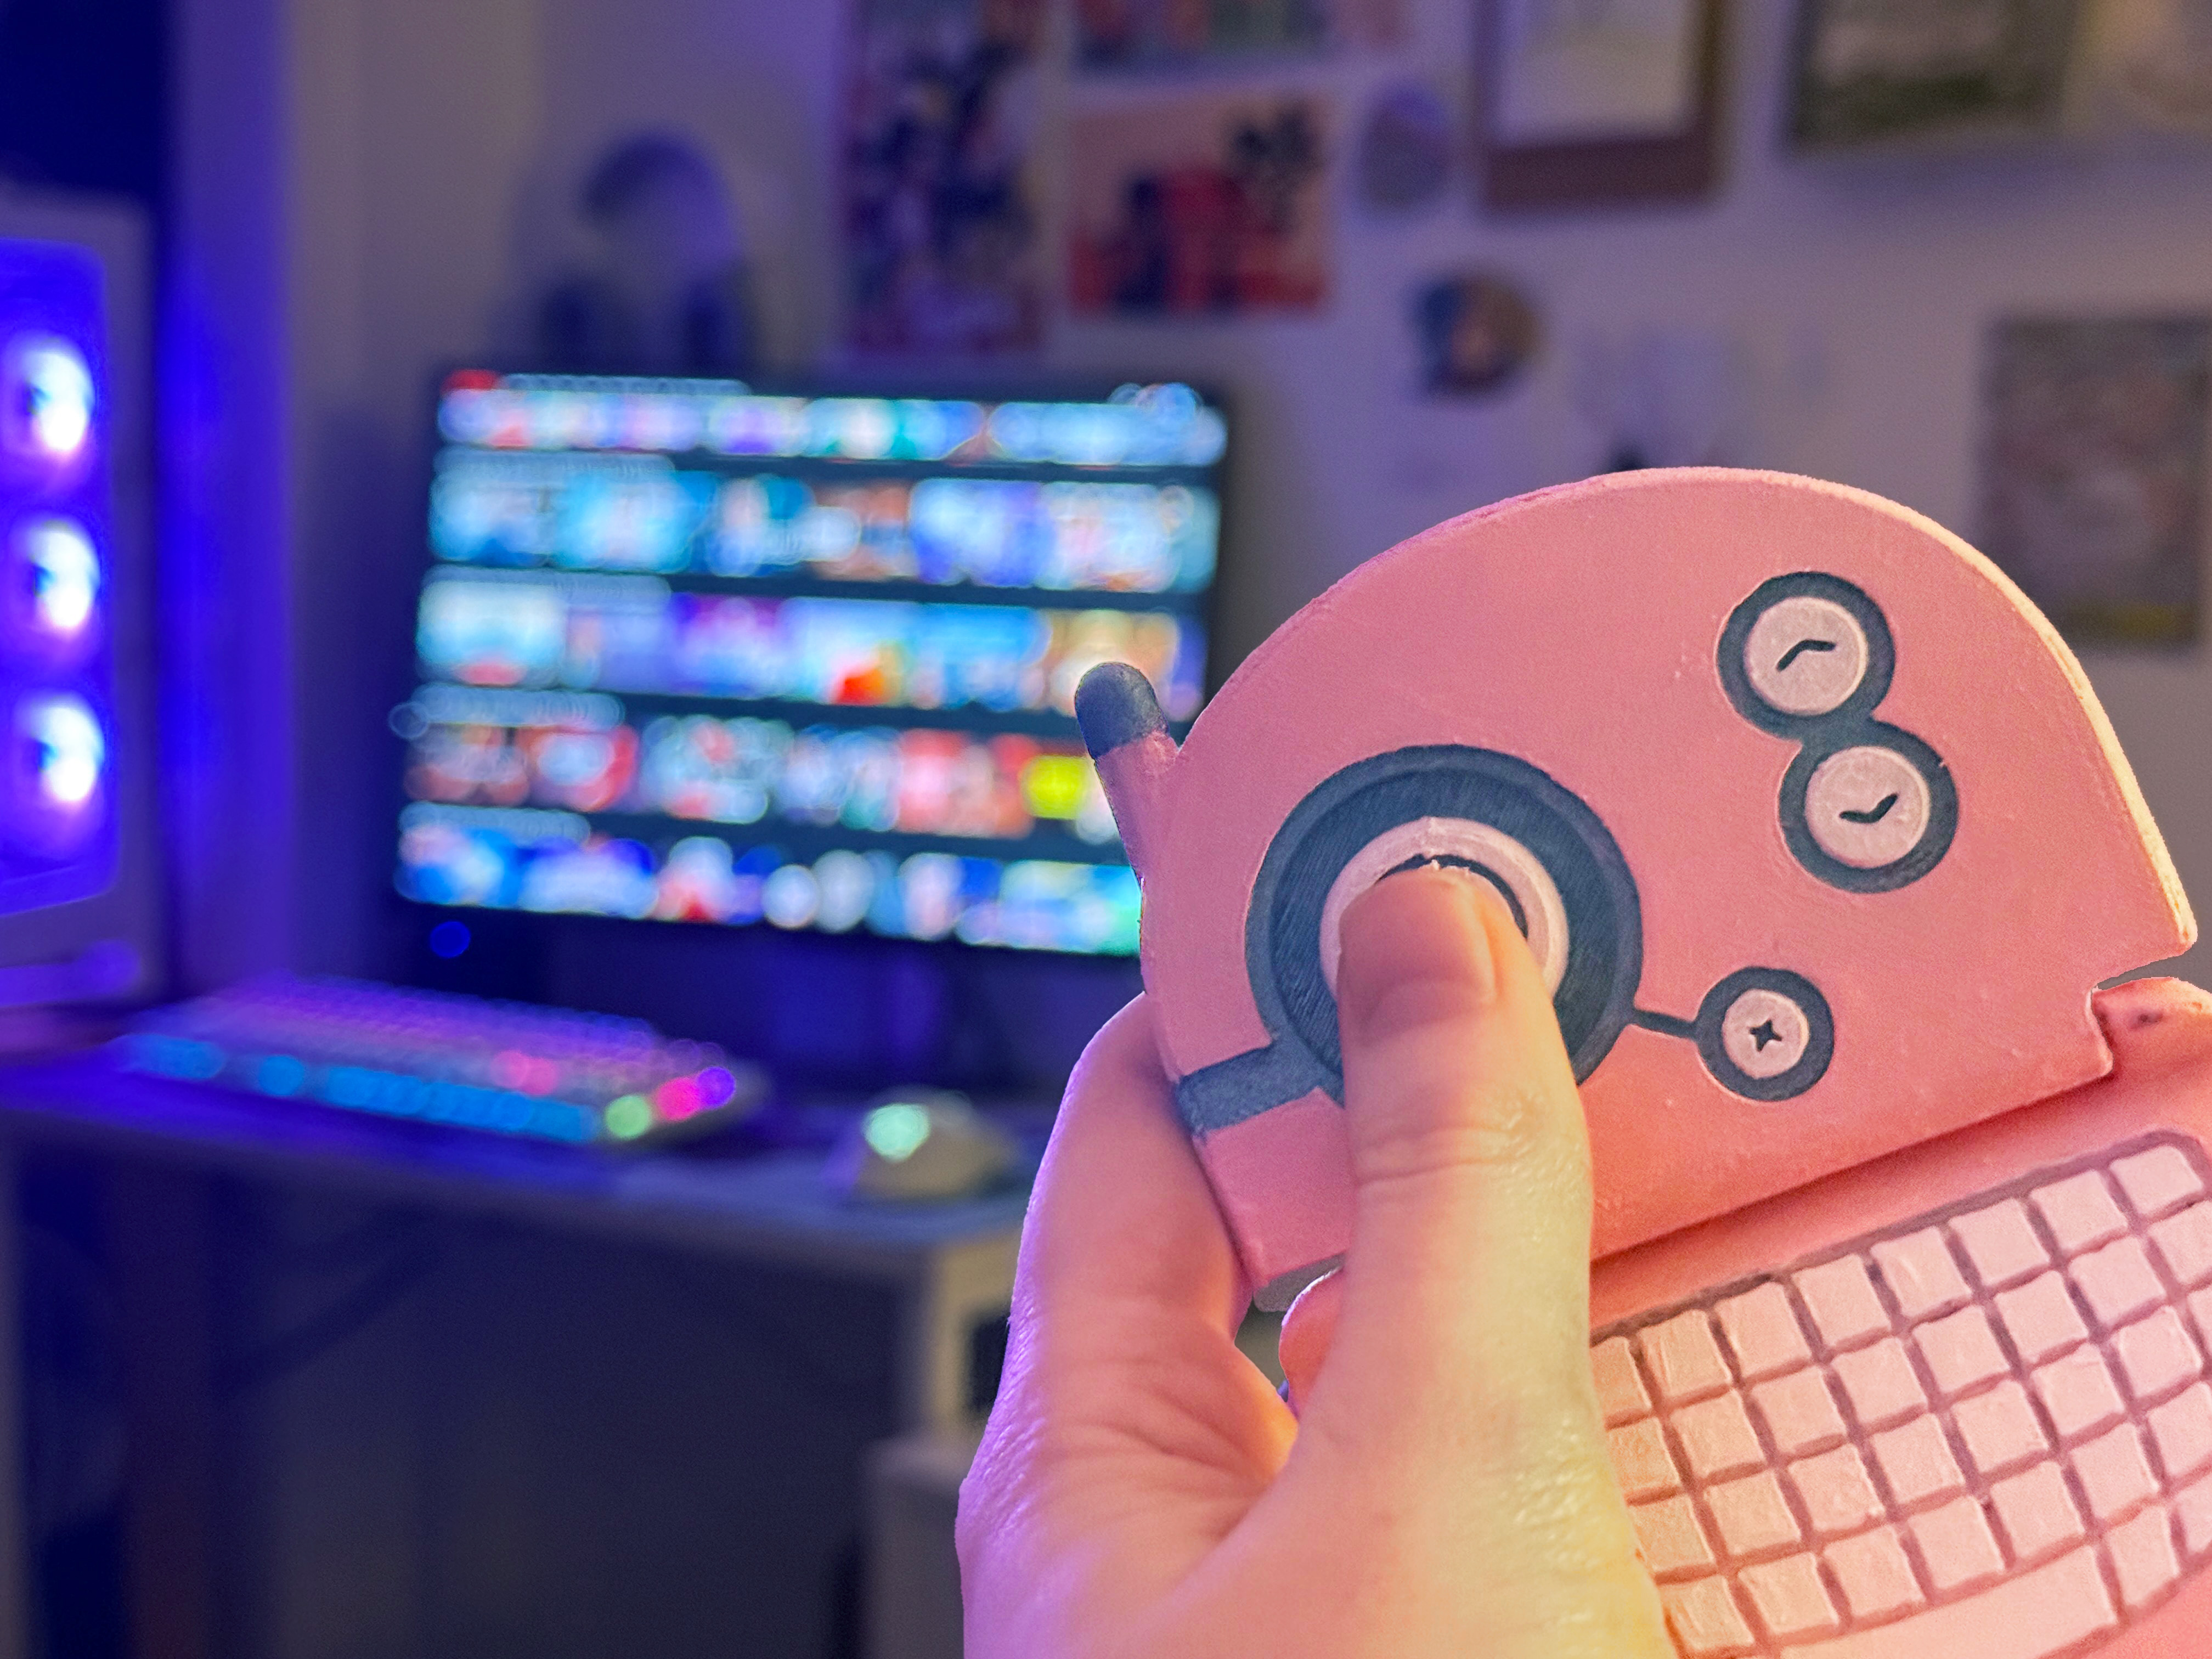
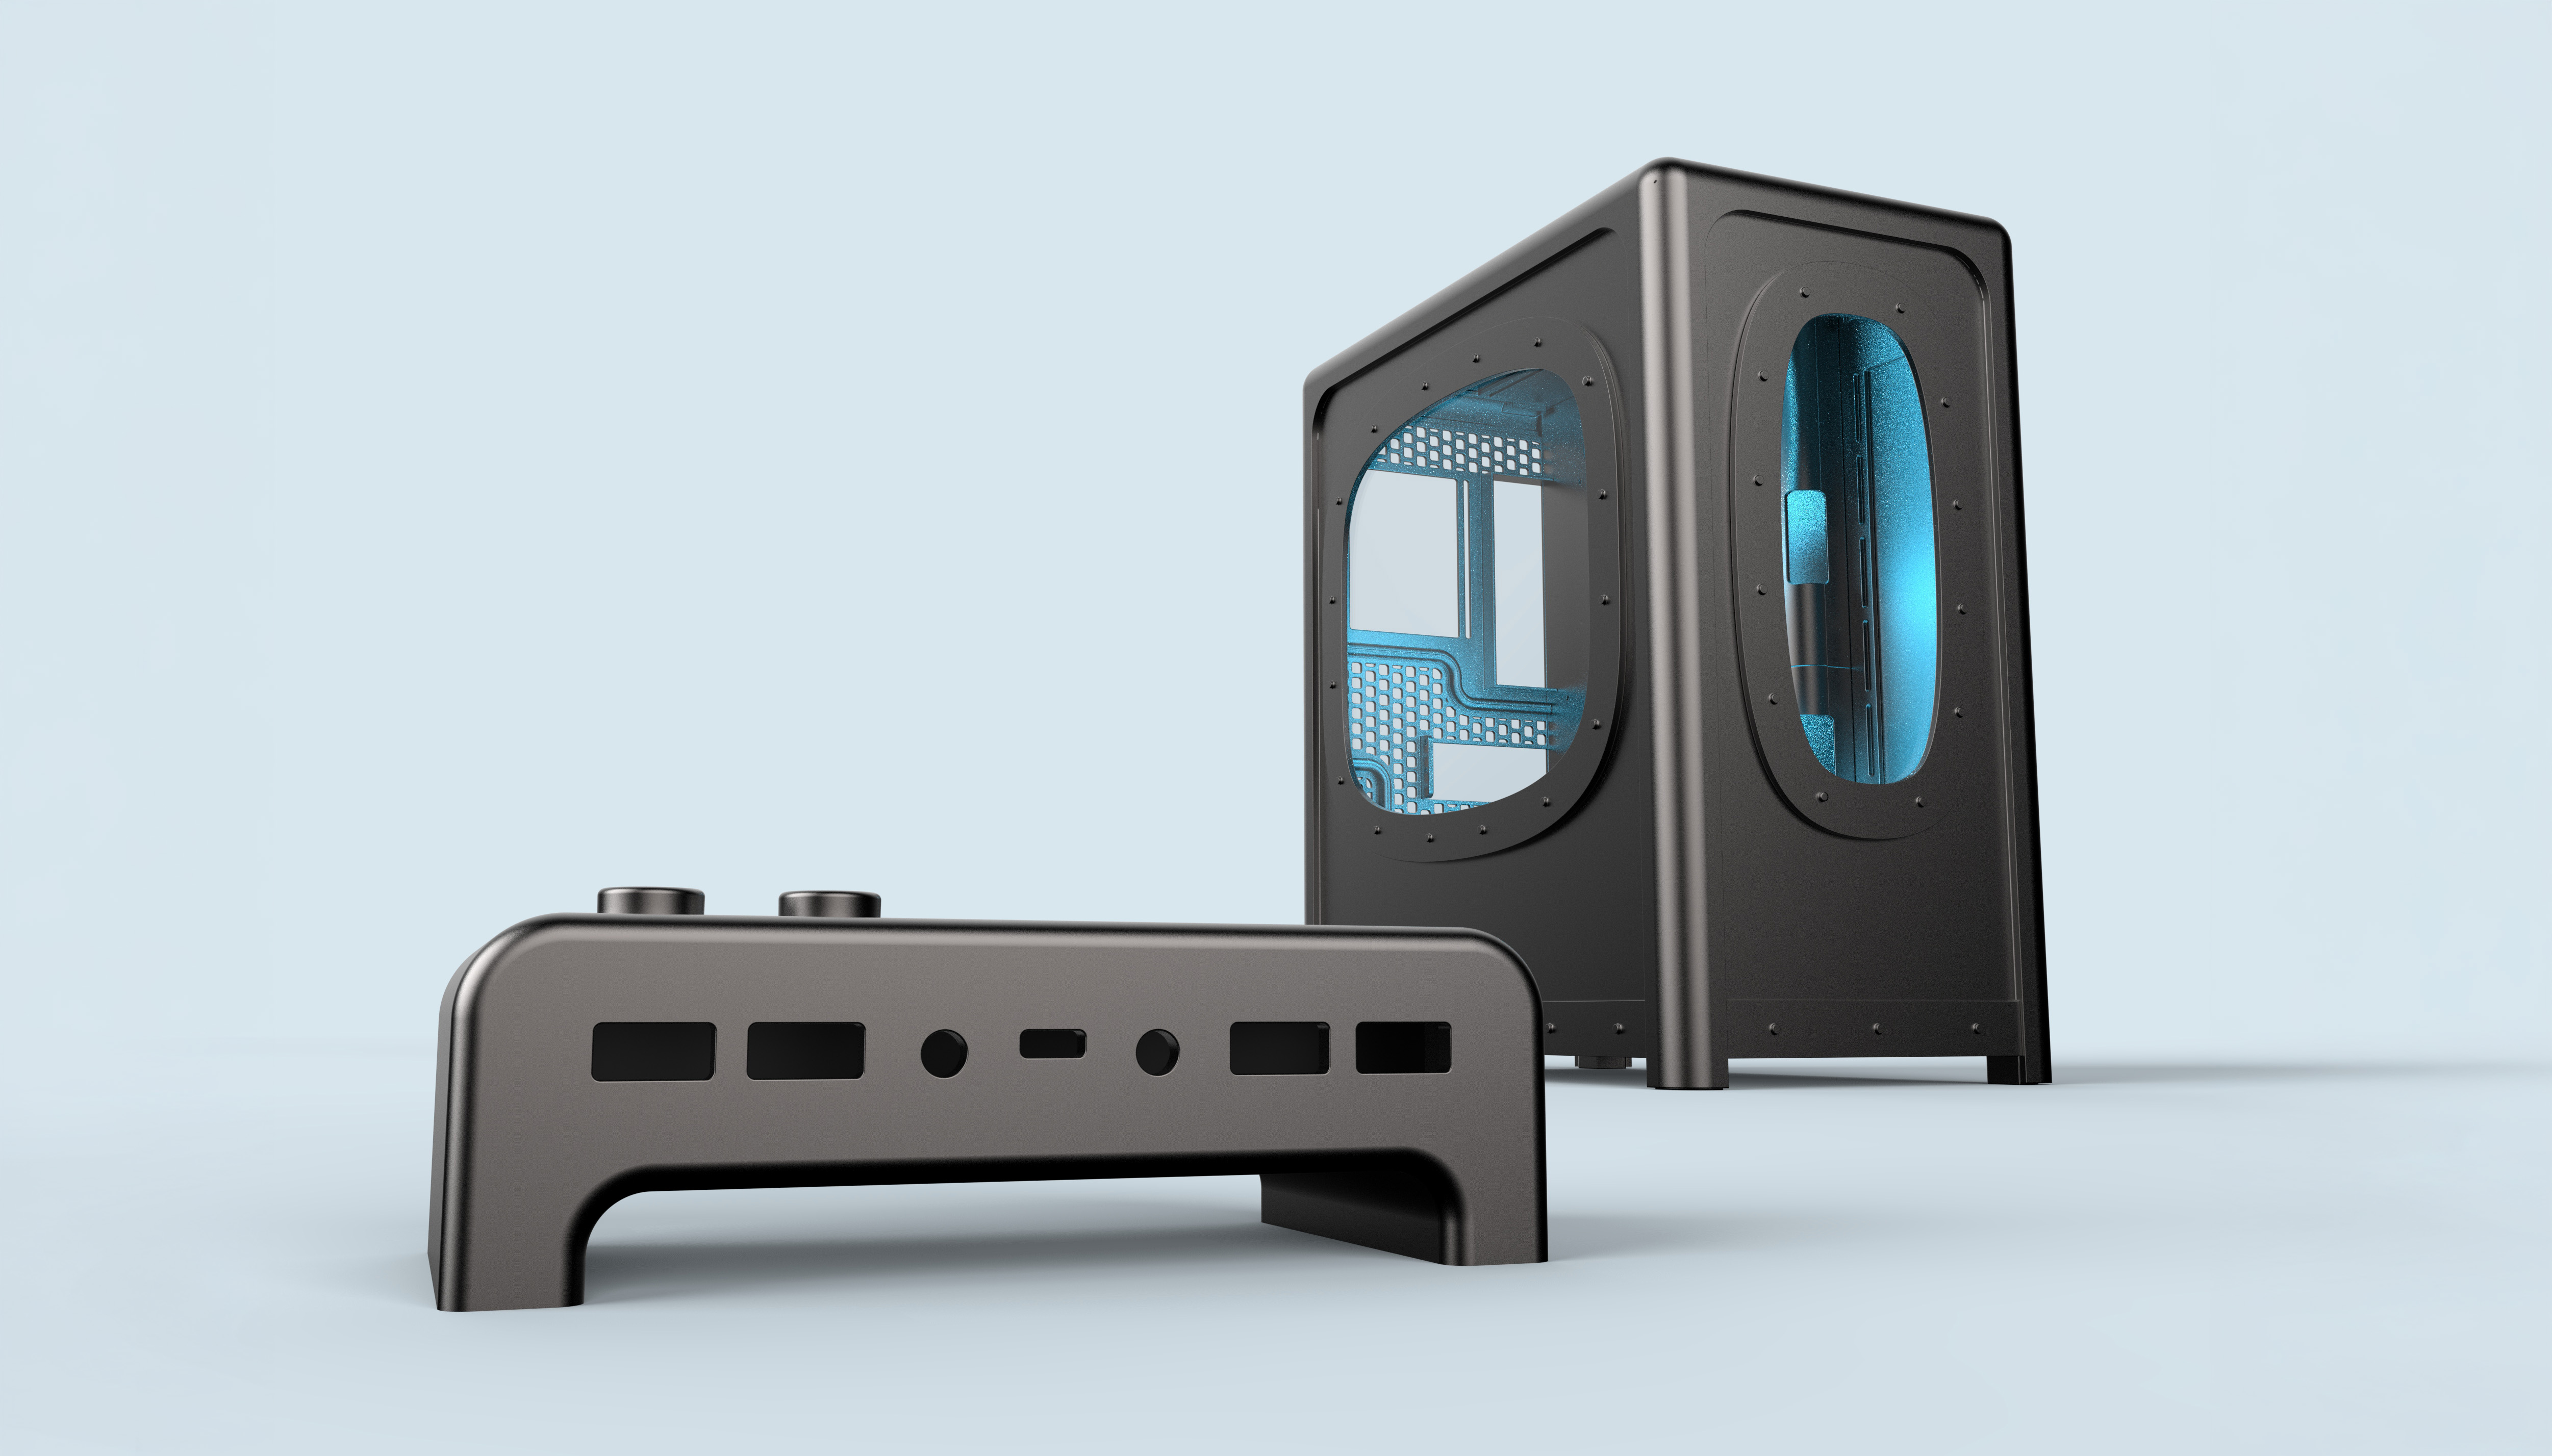
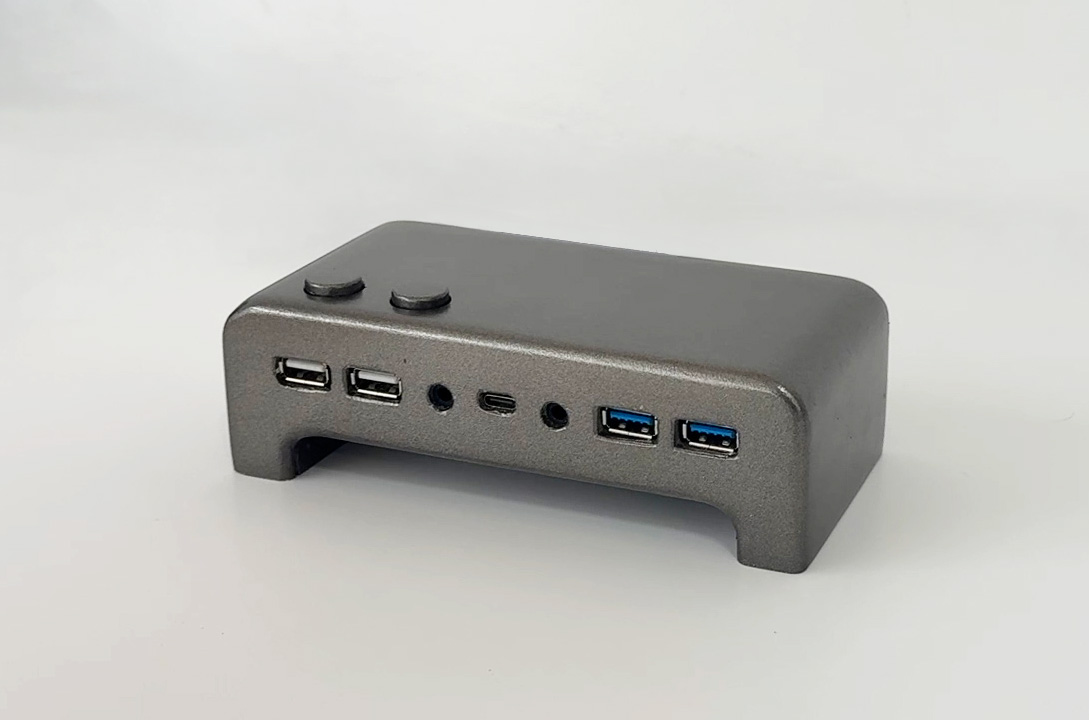
As I was modeling, I realized I had to figure out where the I/O panel would go--i.e. the power and reset buttons, and extra USB ports. I had the idea of making a separate device that belongs on the desktop, below the monitor so it would always be within reach when sitting at my desk.
I found some parts online that I could combine into one device. I then modeled the device to match the PC case, and 3D printed it in two parts.
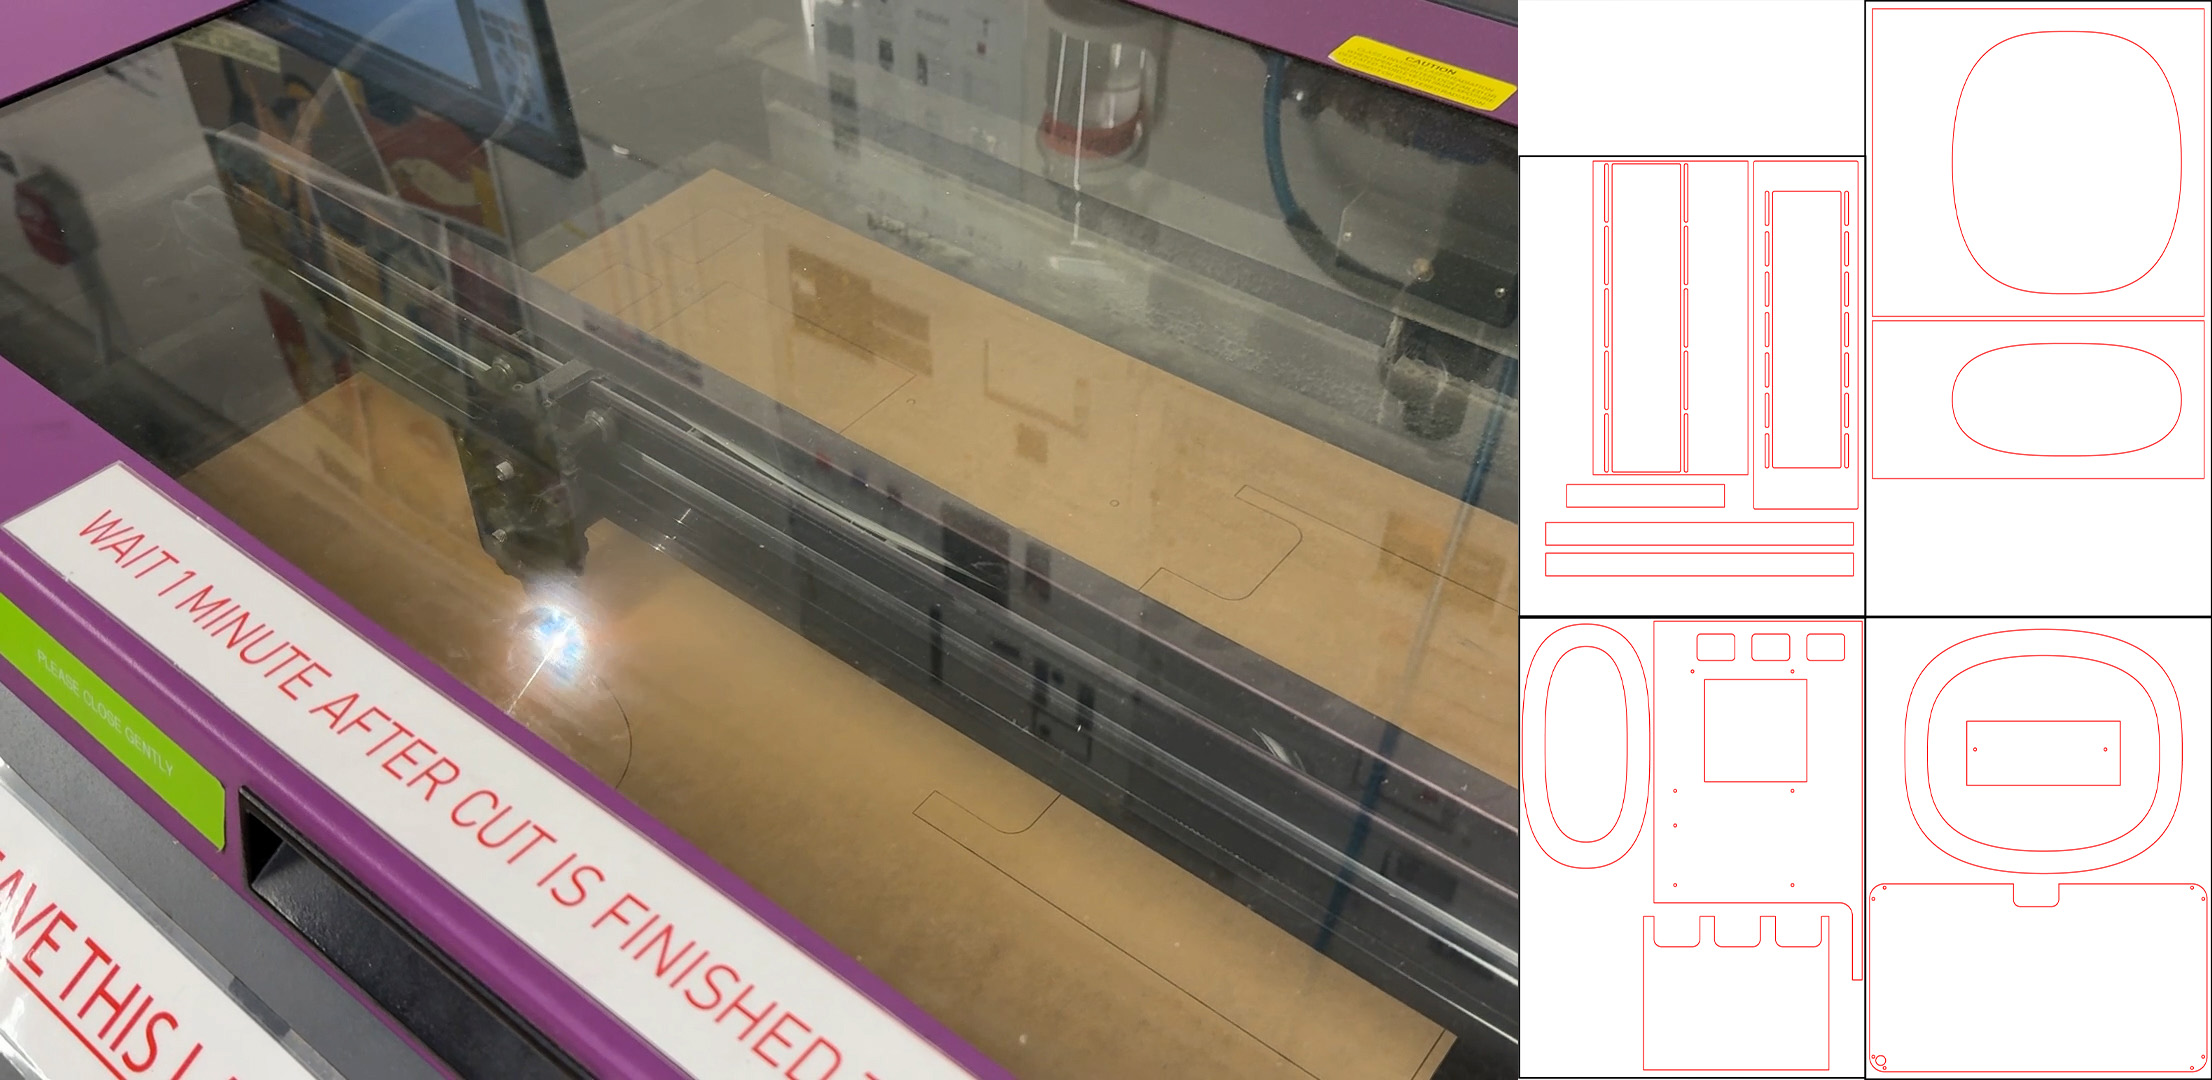
I lasercut the large panels with 3mm and 4.5mm clear acrylic. After my first prototype, I would definitely choose a thicker acrylic or more rigid material for a final working model.
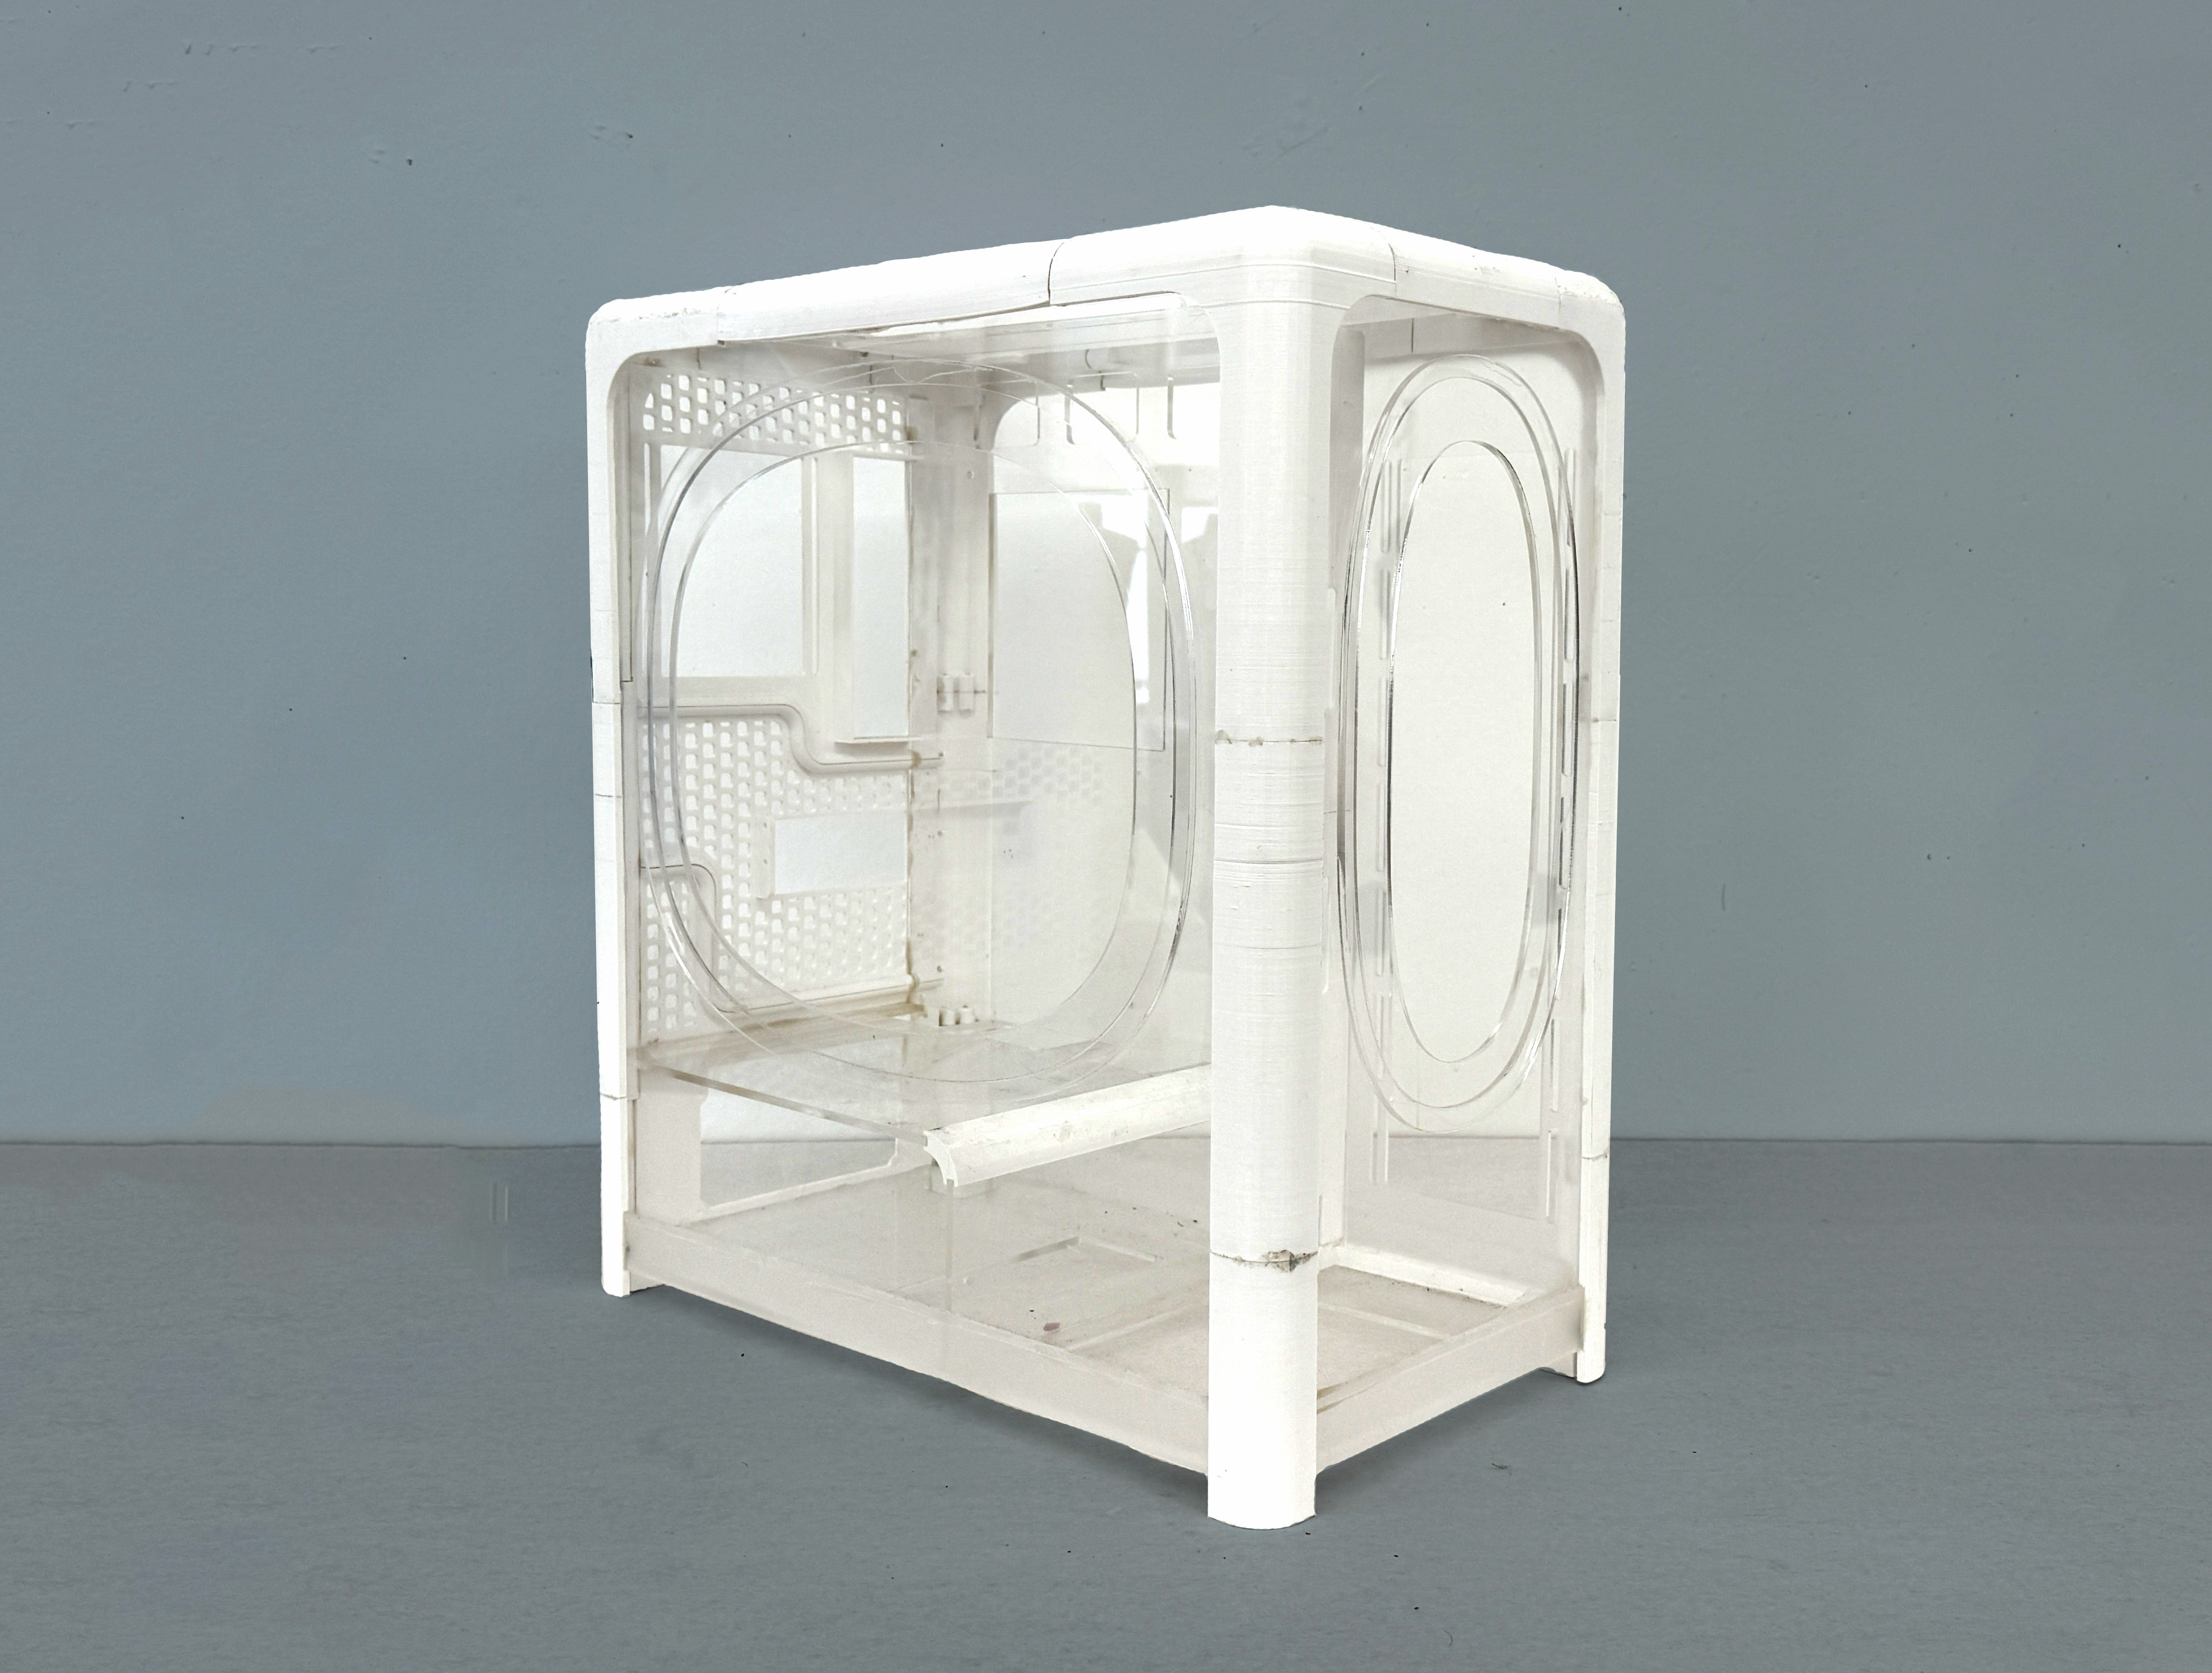
After 3D printing the rest of the pieces in PETG for durability and temperature tolerance, I could finally assemble the case with two part epoxy. I discovered a myriad of things that needed revision.
✦ the acrylic was too weak and broke between screw holes
✦ my 3D printer needed more fine tuning for printing in PETG
✦ I needed an easier way to be able to access the inside of the case
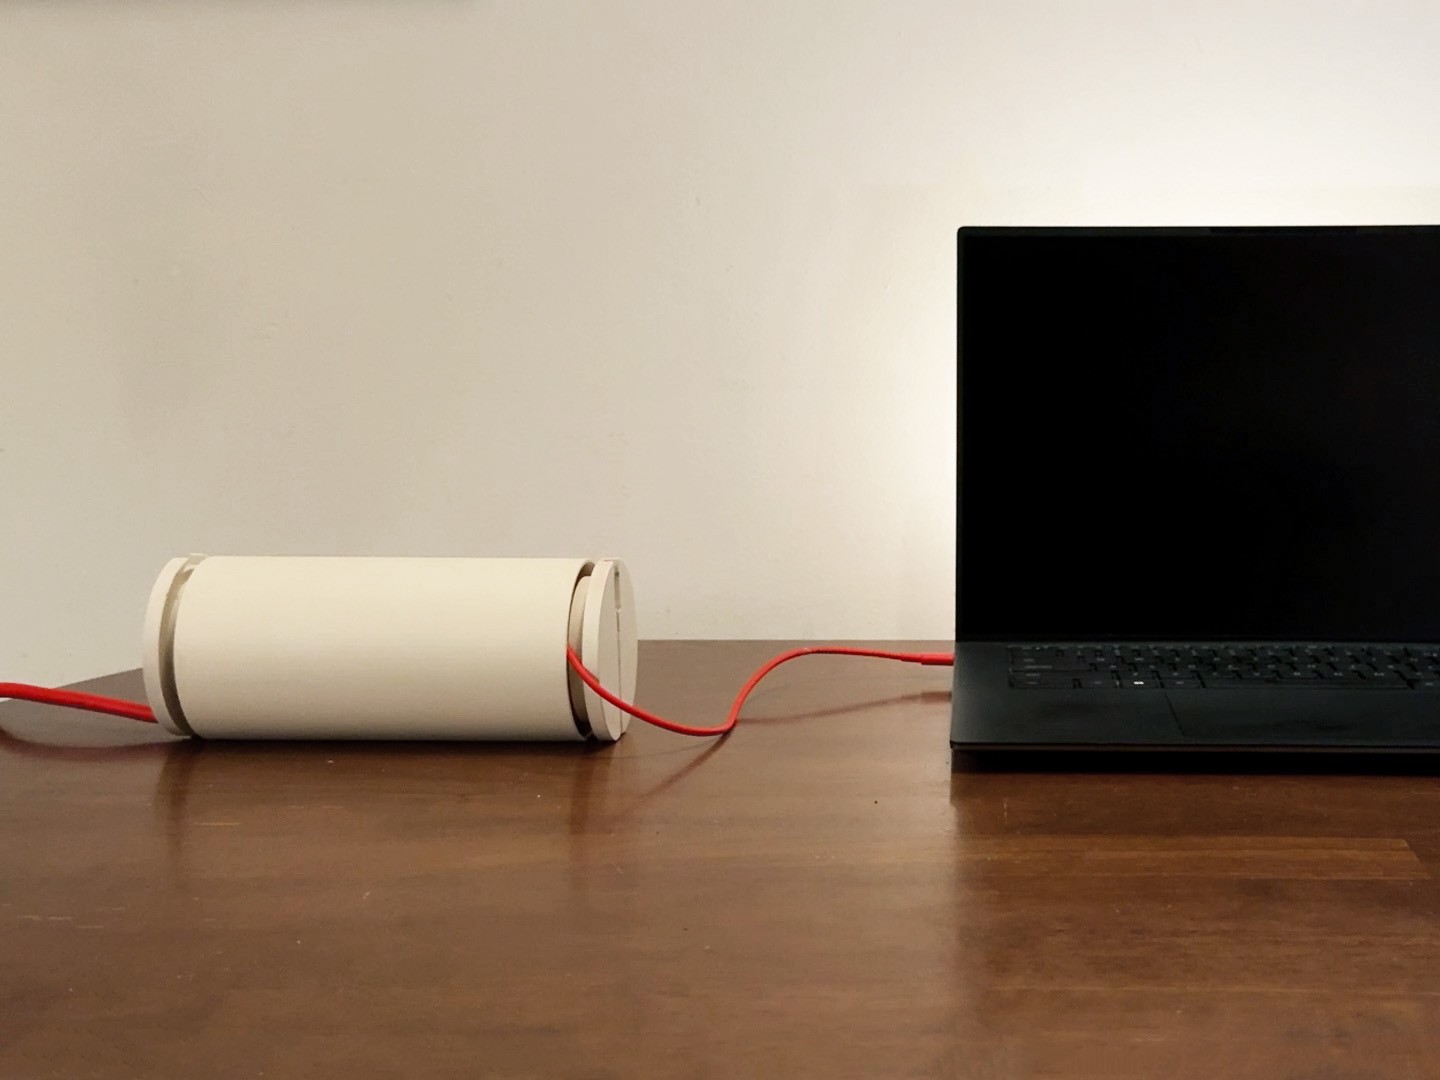
It's oriented so it's easy to plug things in and run the cords underneath the device.
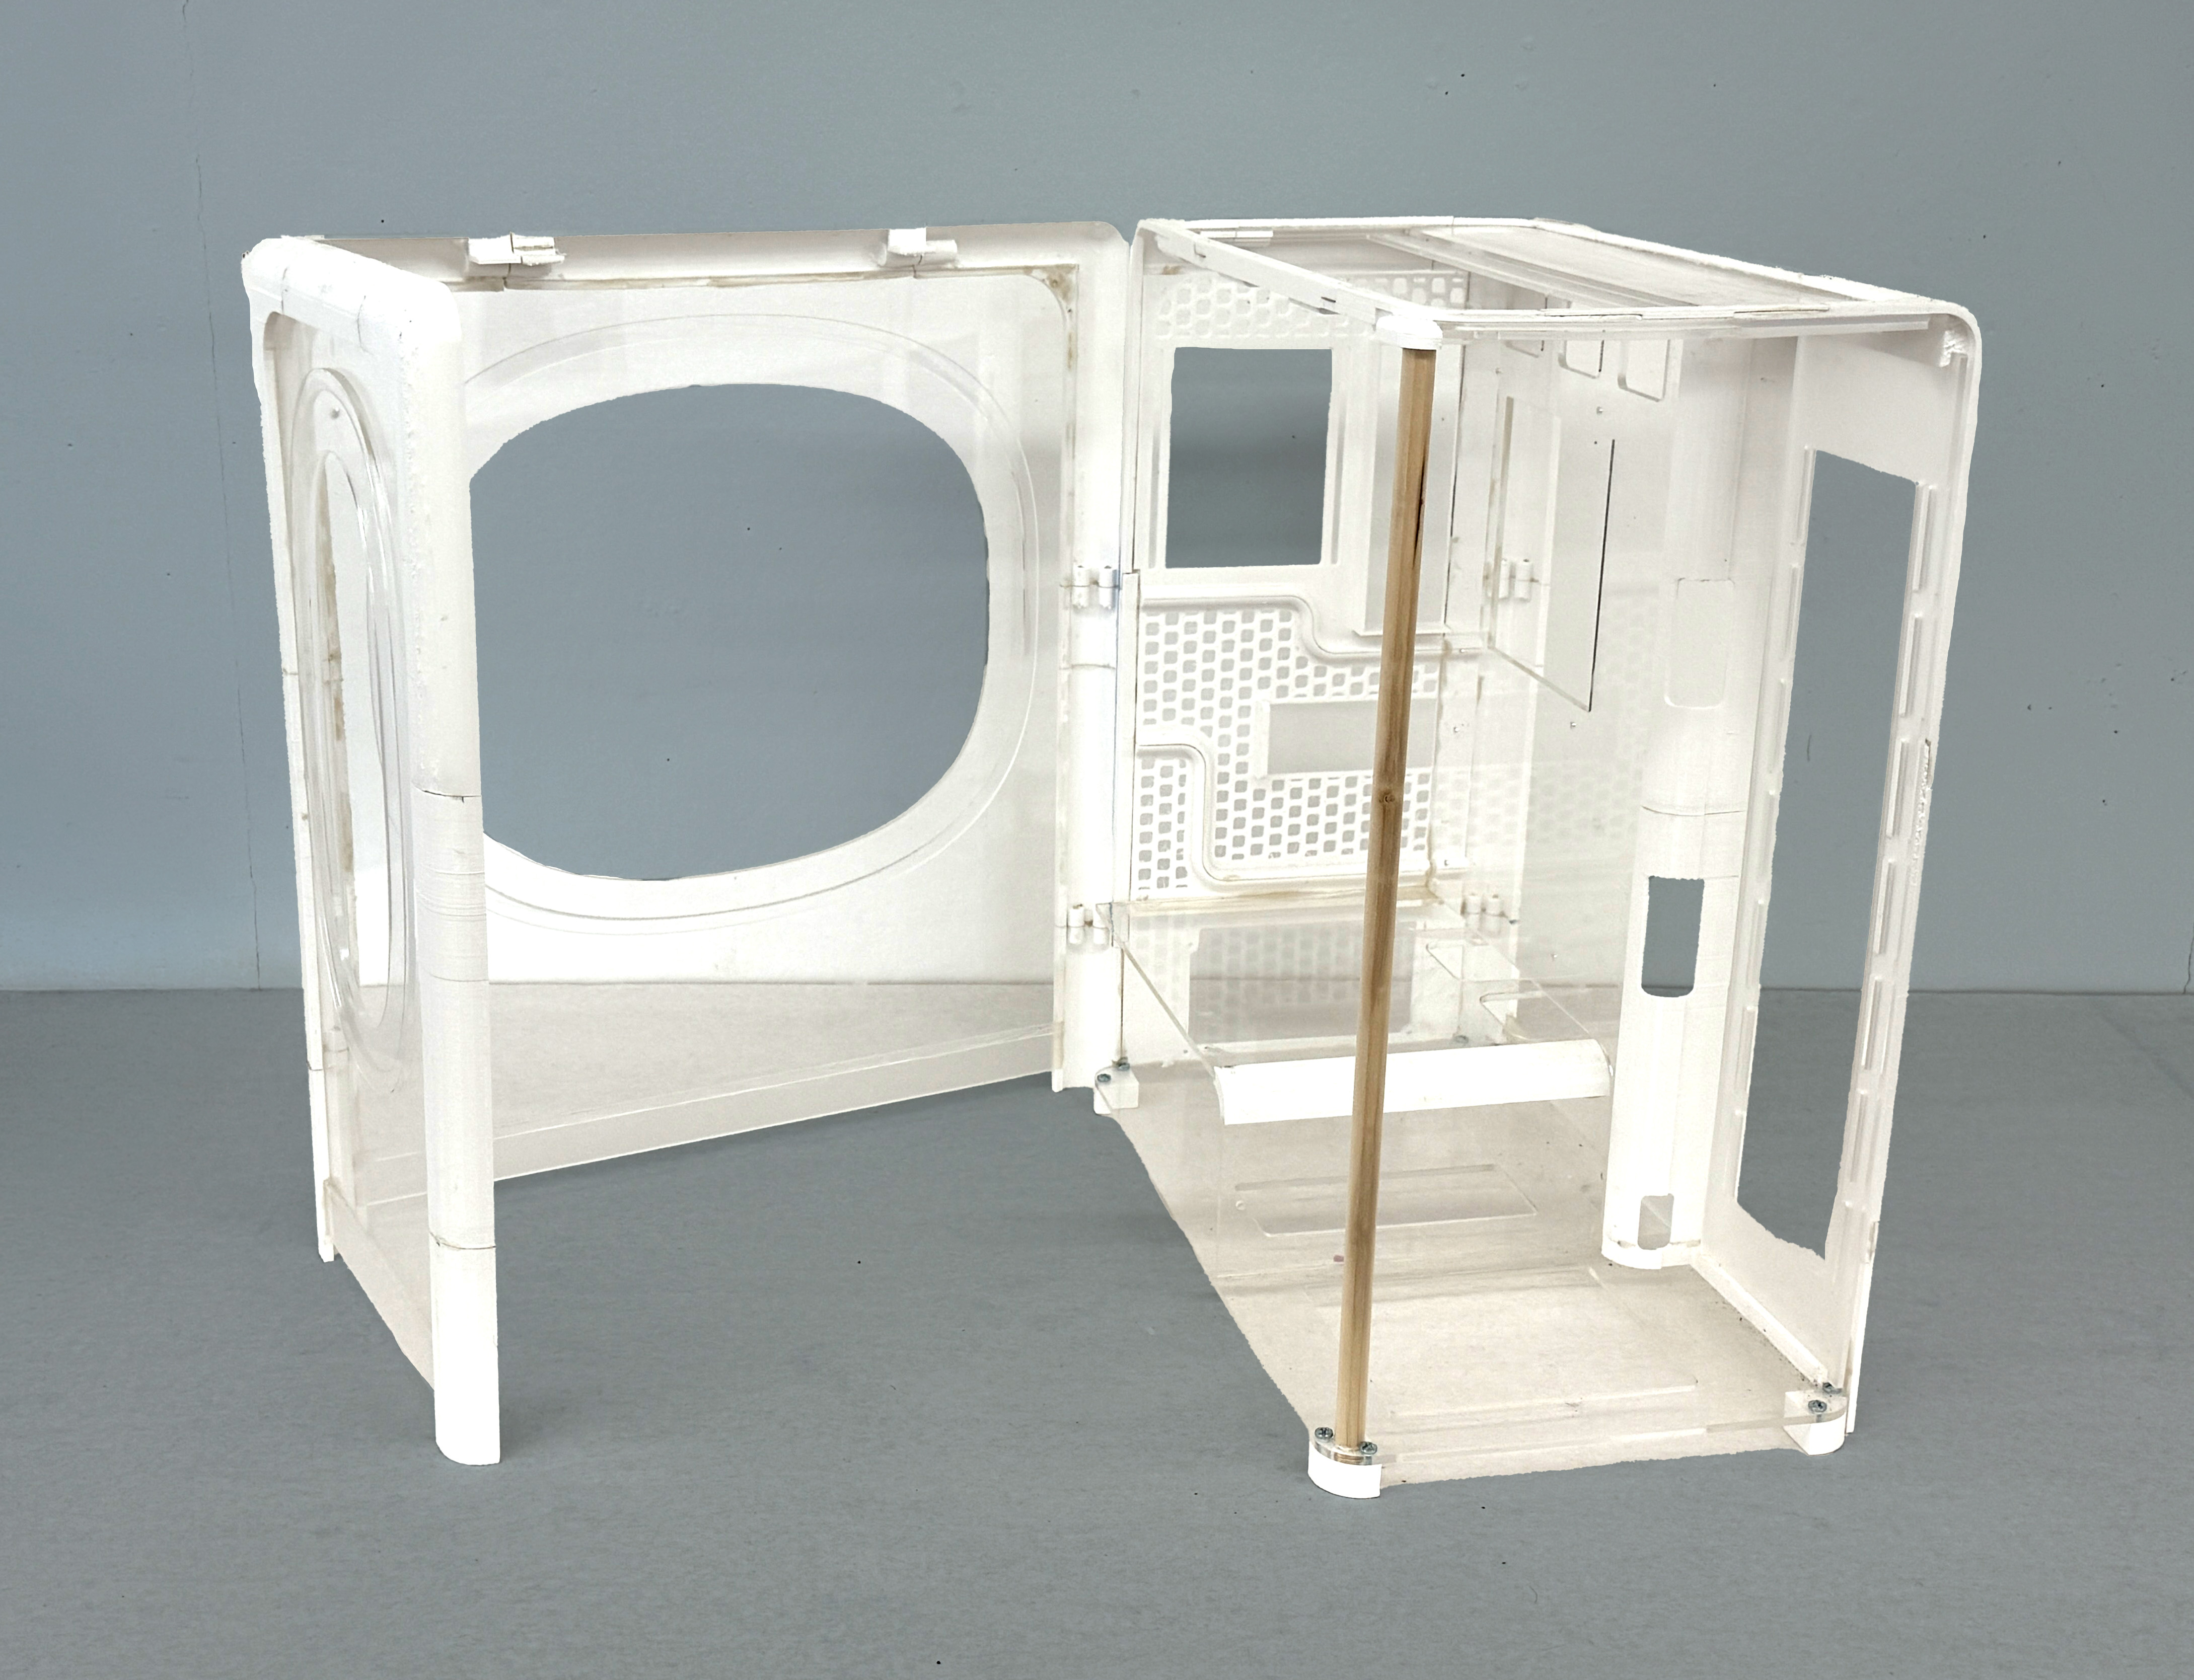
The front of the case opens so you can access the inside.